DANGER AREA - INNER support buildings
As well as storing the bombs and cores, maintenance and repair work on the weapons was required to be undertaken at the site. As a result there are a number of buildings that are associated with these functions that lie within the Danger Area.
STORAGE/SERVICING BUILDING
|
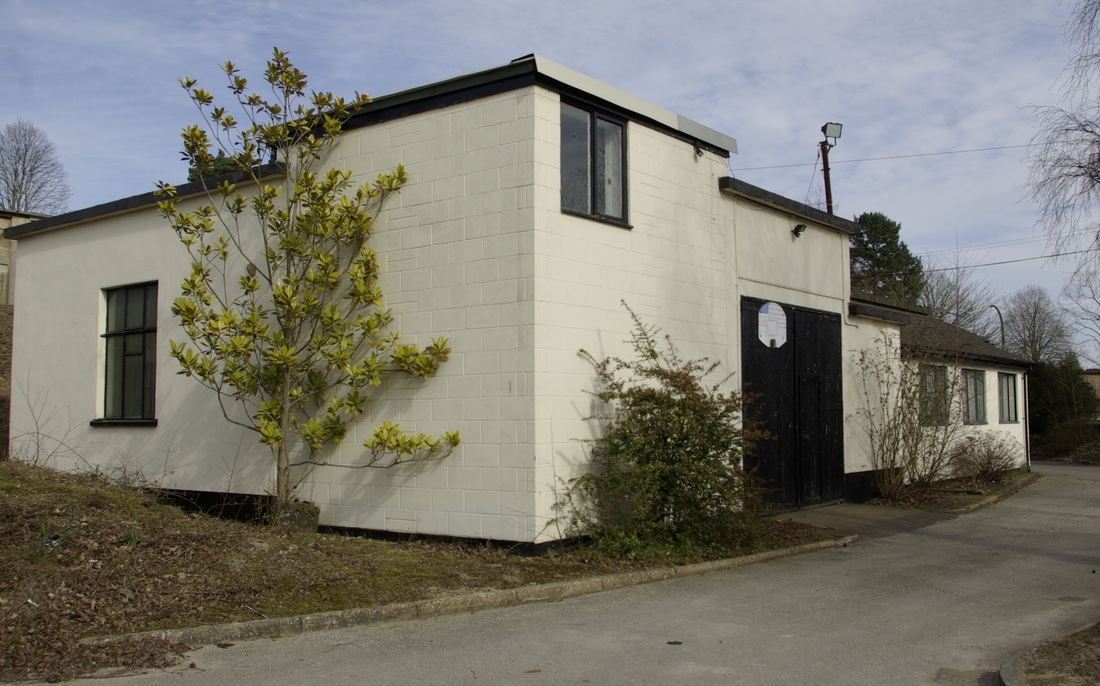
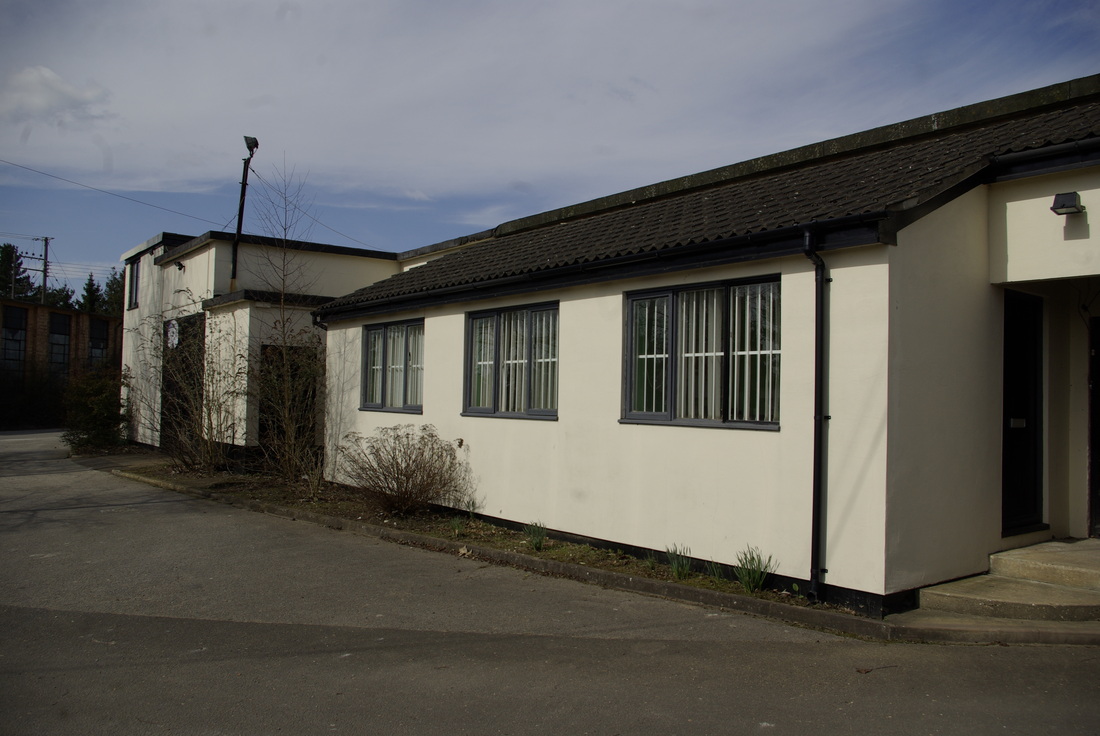
Picture SB0 and SB0a © Sam Tolley. This is directly to the front as you enter the compound with its own small road serving it. It was most likely a servicing or storage building. The site would have had a lot of equipment involved with the movement and maintenance of the weapon systems it housed, so it is feasible that a specialist store building was needed to house this equipment.
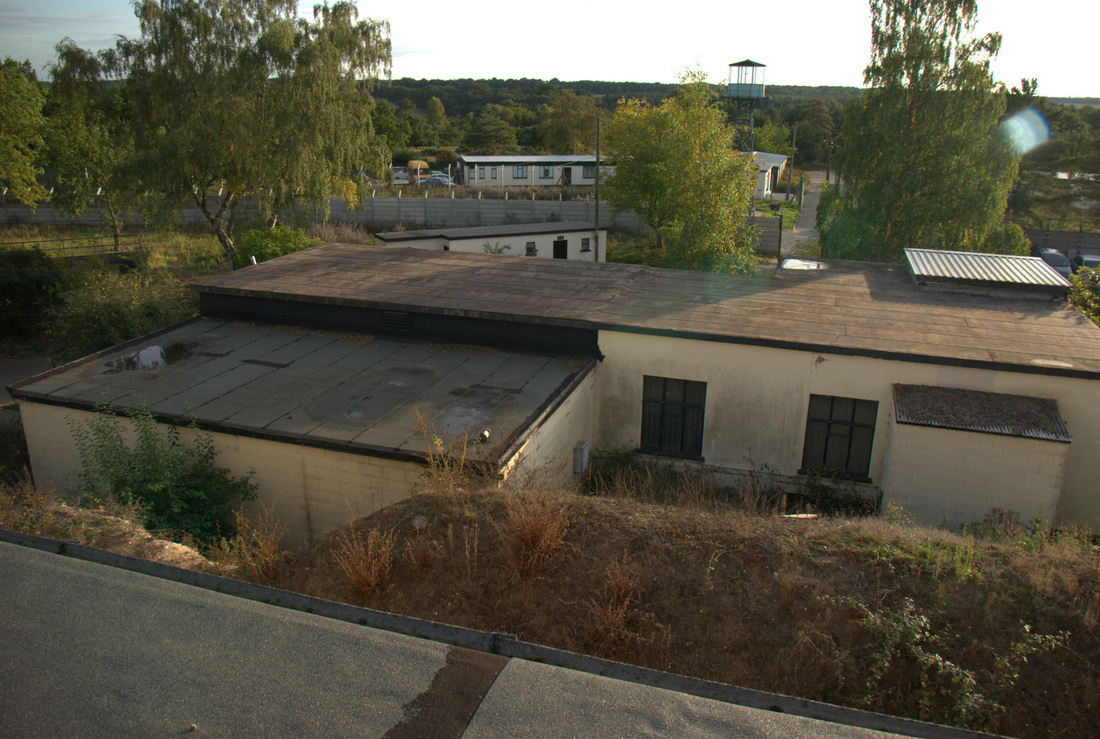
The windowed element of the structure is new. Picture SB0b © Sam Tolley. The building from up and behind facing towards the entrance. You can see the earth traverse between it and the Maintenance Building from where the shot was taken.
|
|
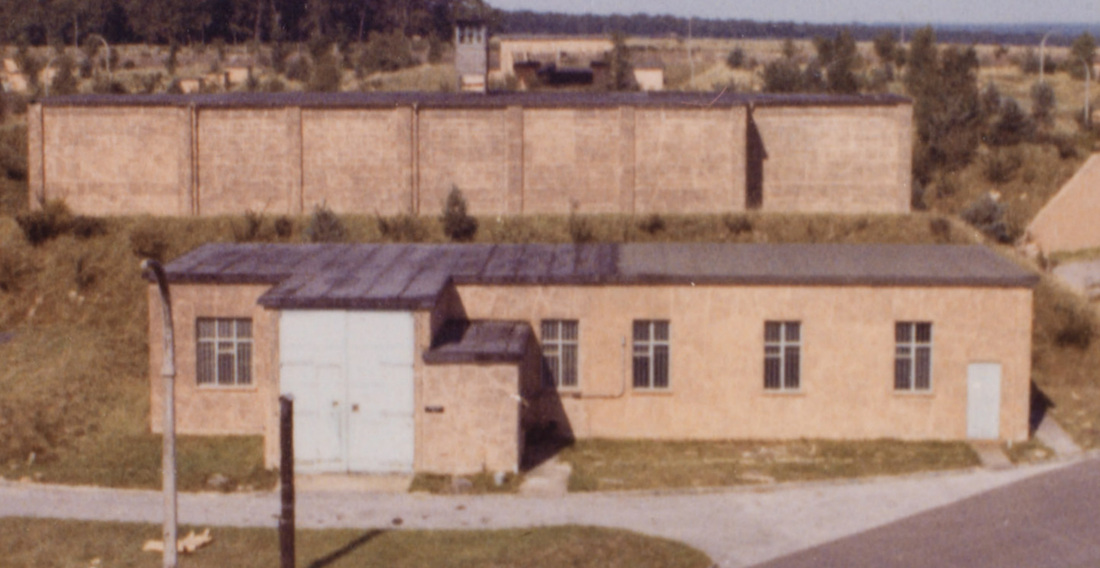
Picture SB0c © Keith Eldred. The storage building c1970, pre-extension work.
|
Maintenance building

|
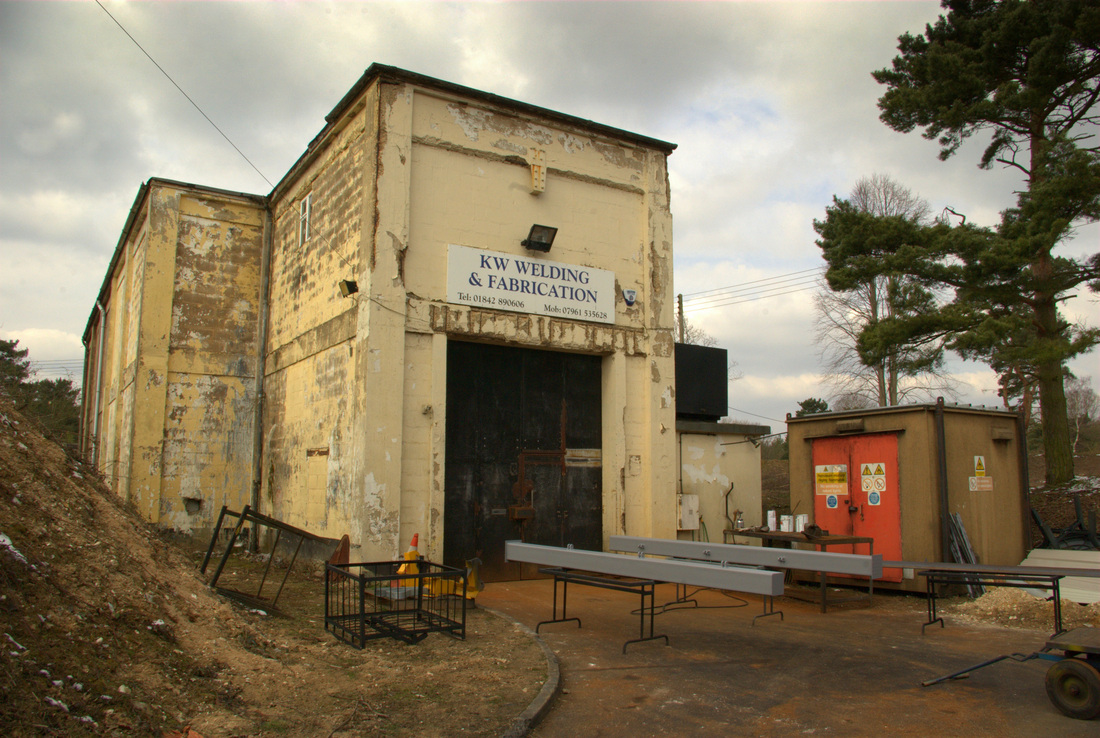
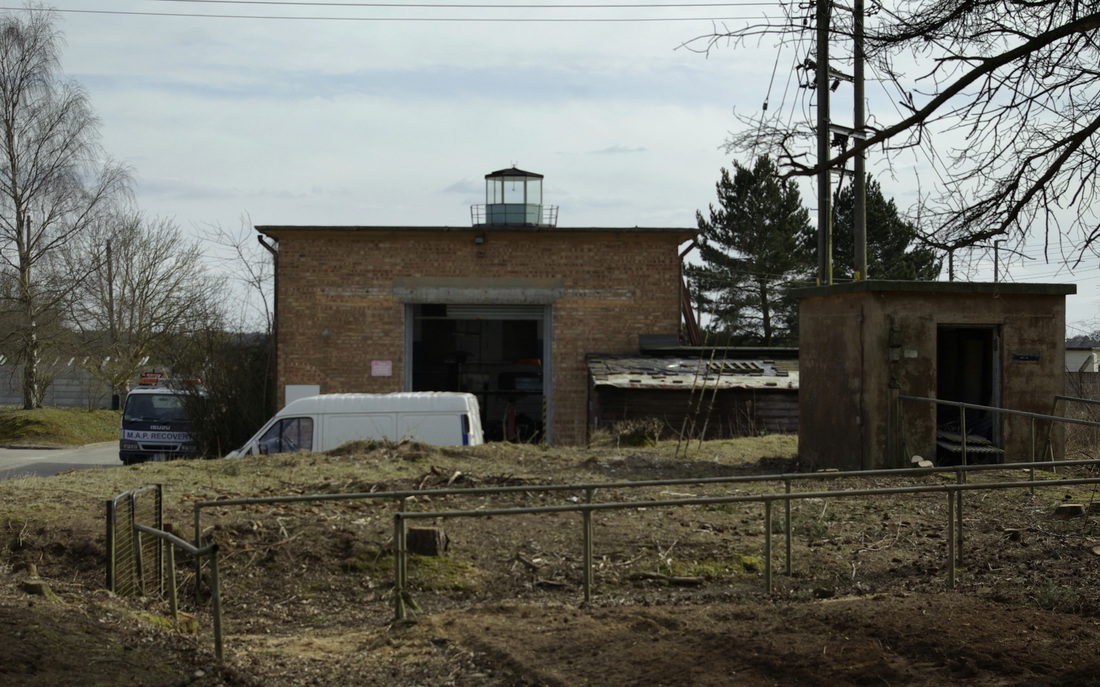
Picture SB1 & SB2 © Sam Tolley. These pictures show the maintenance
building which is located towards the centre of the facility. It is accessible by 2 branch roads leading off from the main loop road and is accessible at both ends. This building had a watch point on the top manned by the RAF Police. It is protected by a curved traverse (as seen below), to the north, and from the south by another traverse with an integral blast wall (as in image left here). It is also flanked by large blast walls to the east and west. This and the size of the building doors and height of the roof suggest that this building was involved with the maintenance of the main section of the bomb including the high explosive element. It is reported that this building featured an air-lock system for entry. |
|
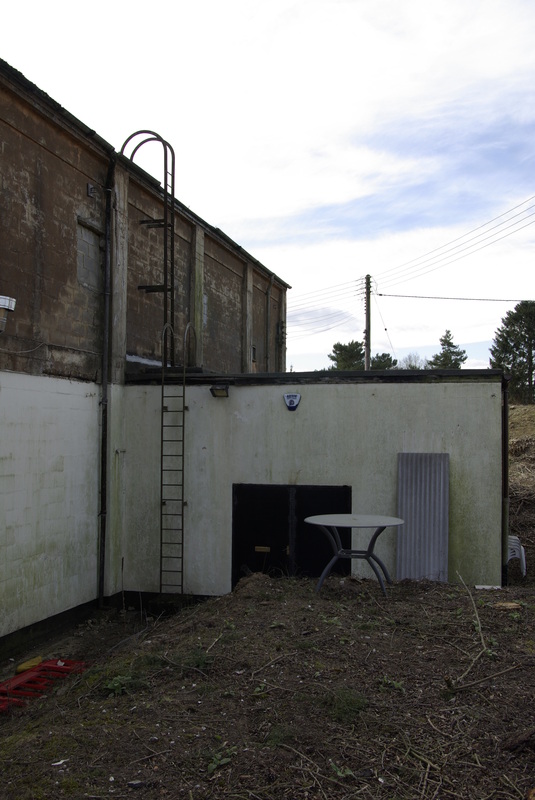
Picture SB2a © Sam Tolley. A view of the northern aspect of the building. The ladder was probably the one that served the wooden watch tower atop the building, providing access for the RAFP. Footings can be seen for the tower on the very top of the building on aerial imagery.
Picture SB2b © Sam Tolley. A 360 degree composite panoramic shot from the top of the building. In the image centre you can see the ladder from the image above as well as the mounting points for the wooden watch tower. If the trees were removed, you can appreciate what an excellent field of view this tower would have had.
|

|
Picture SB3 © Sam Tolley. Note the 2ft thick concrete blast wall to the east of the maintenance building; another mirrored it on the west side. The earth-mounded traverse can be seen image left.
The curved road is the main loop that goes around the whole of the Danger Area with the eastern explosives storage building just visible image right. |

|
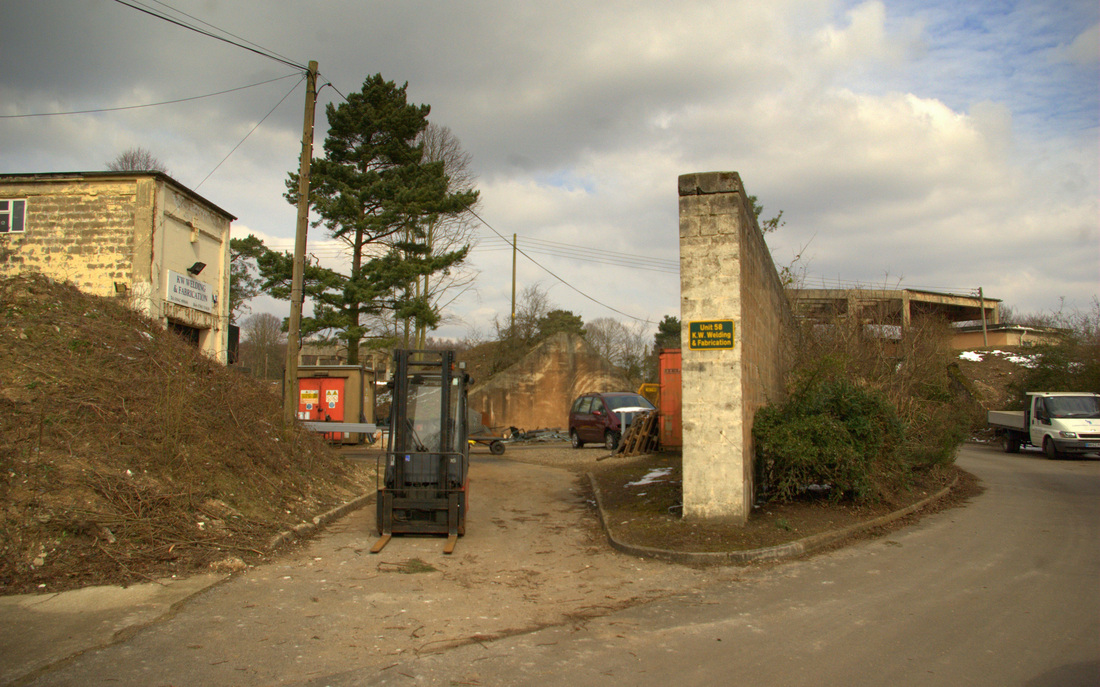
Picture SB4 © Sam Tolley. A close up of the eastern blast wall. Just beyond the car is where the road leaves the main loop.
|
Inspection and repair workshop

|
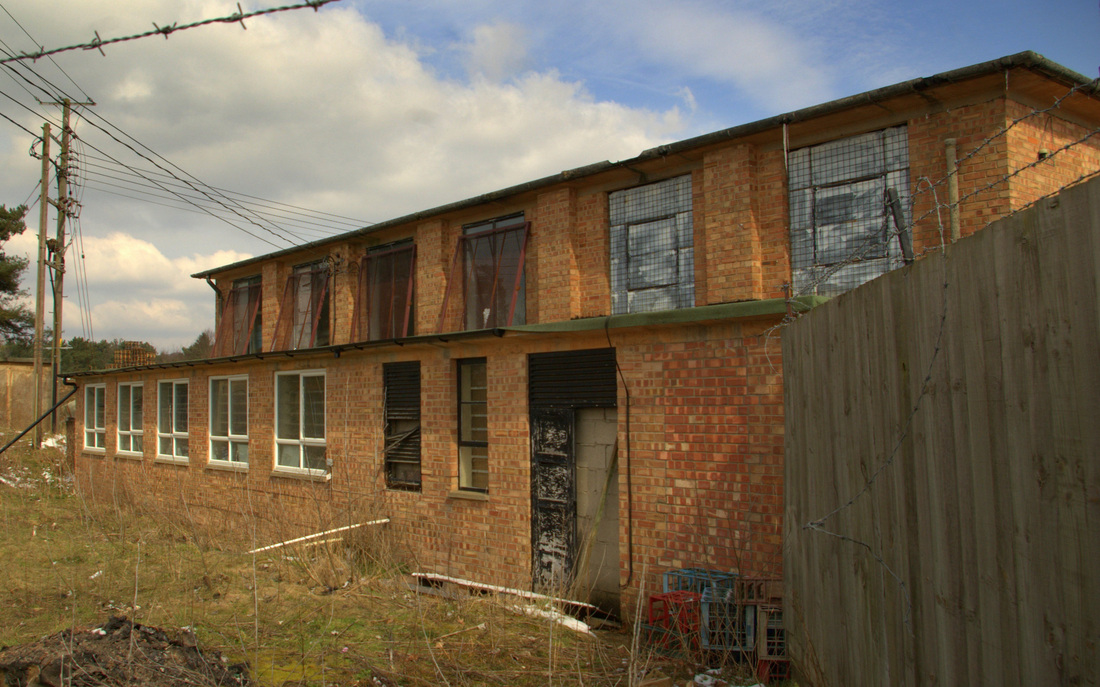
Picture SB5 & SB6 &SB6a © Sam Tolley. This building didn't have the blast walls like the one above, suggesting it handled less explosive matter. With doors at each end, it is almost like a process line, in one way and out of the other, but it could have equally been used for other bomb components or even on-site support equipment. The top picture is looking at it from the southern watch tower, the middle picture is it from the western aspect and the third picture is from the northern view.
|
INSpection room
|
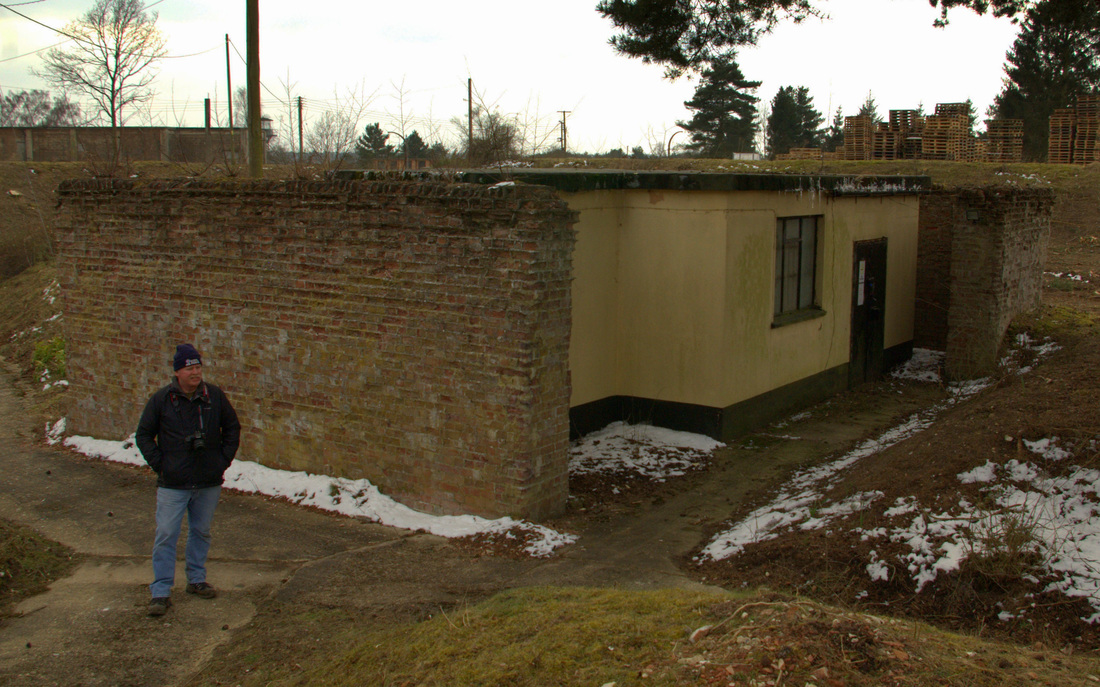
Picture SB7 and SB7a © Sam Tolley. The inspection room. This building was surrounding on 3 sides by a brick blast wall, presumably to provide it with some explosion protection from the explosives storage buildings around it.
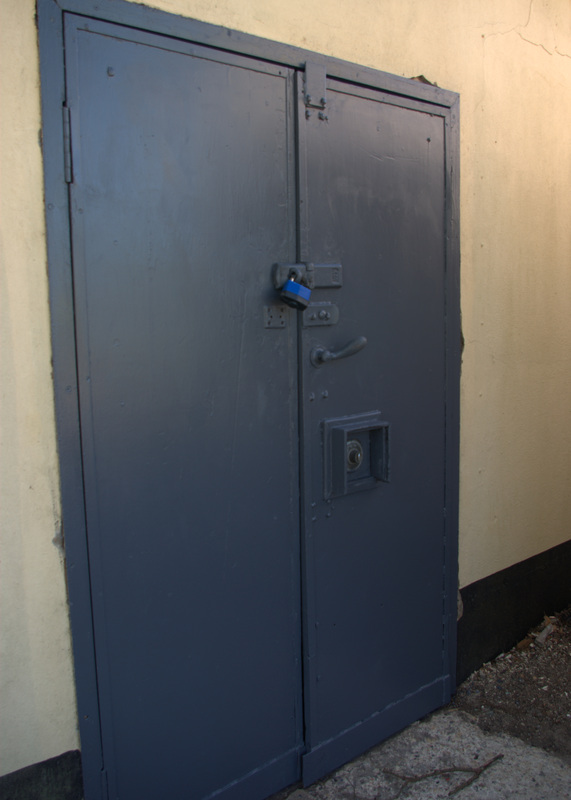
It is located very near to the northern fissile core storage igloos, with the concrete path my friend is standing on leading to a group of 6 igloos and the path heading image right leading to 8 in the very north of the site. The building has double doors with a security manifoil lock. I am told by the site owner that there is a core safe within the building, as in each of the igloos. This all suggests that the fissile cores were probably inspected in this building and placed in the safe when not being worked on, instead of being returned to an igloo. |
|
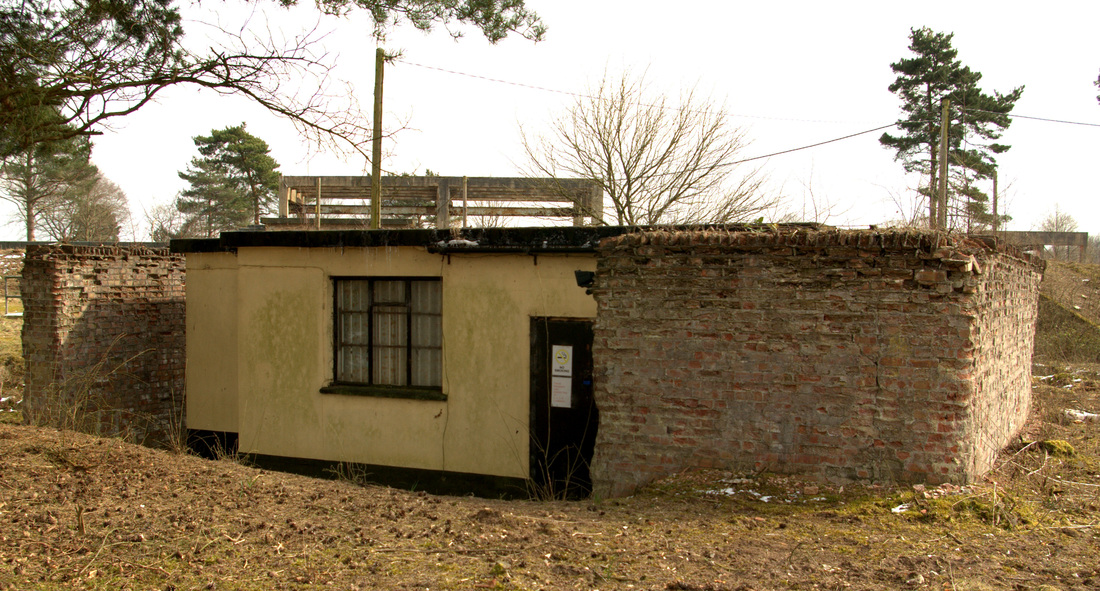
Picture SB8 ©Sam Tolley. A picture showing the extent of the blast wall around the inspection building. This wall is only present on the aspects that face the large explosives storage buildings.
|
|
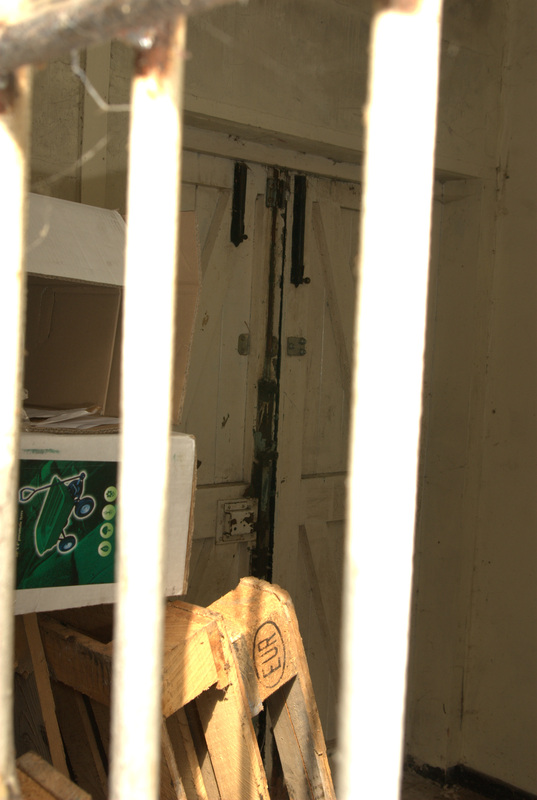
Picture SB9 © Sam Tolley. Looking through one of the windows between the building and the blast wall towards the back of the main double door.
|
|
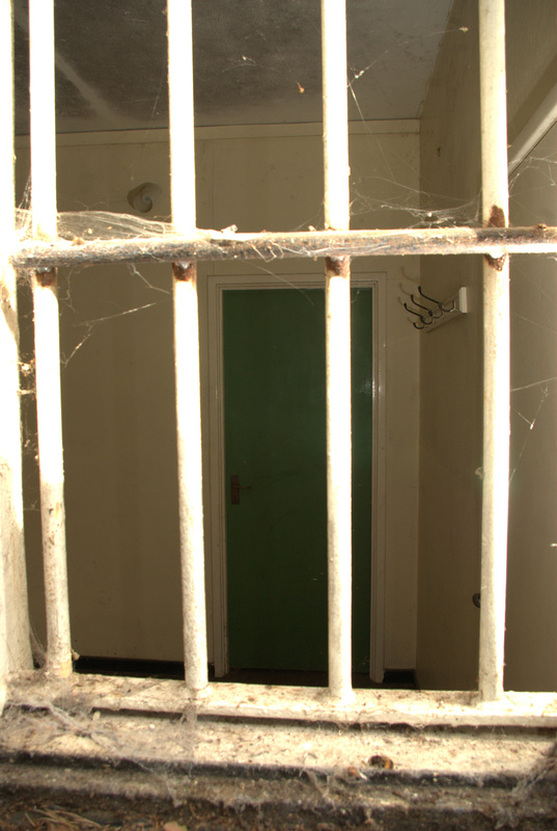
Picture SB10 © Sam Tolley. Another picture through the window. To the left is the main door and to the right is an internal door leading to a probable kitchenette or bathroom area. Through the main door was a much larger room where the core safe is located.
|
OTHER
|
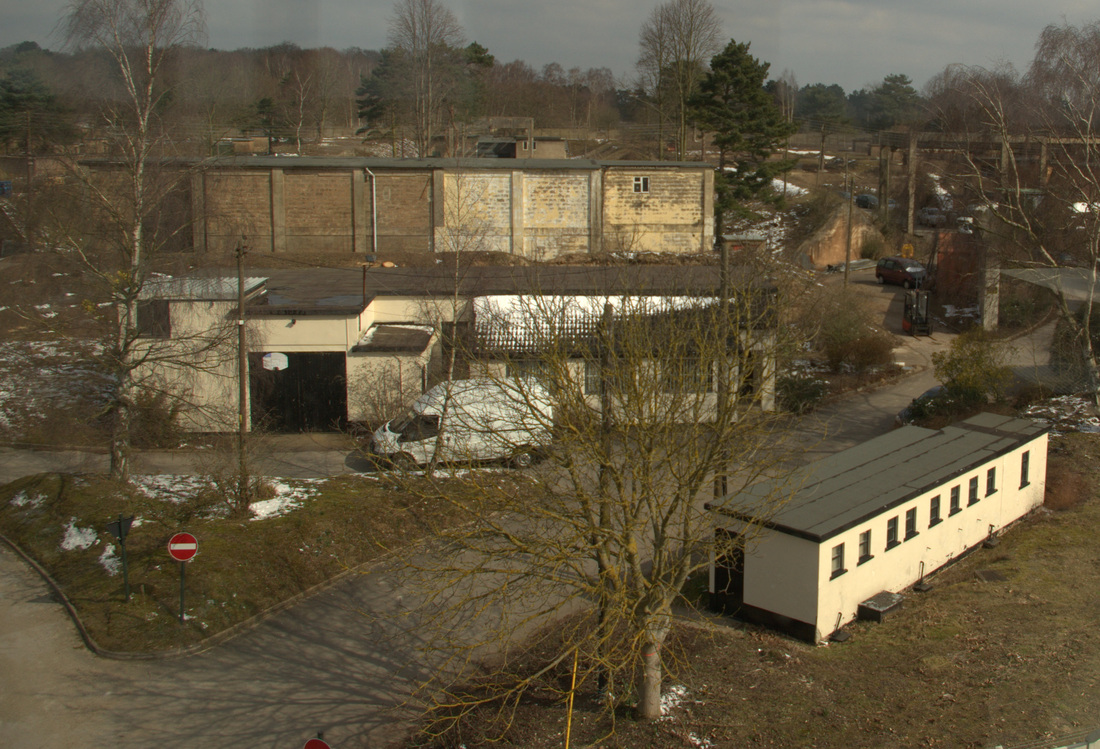
Picture SB11 © Sam Tolley. Picture from the southern watch tower looking north. At the centre of the large building with the 2-tone bricks would have been an observation point, the footings and access ladders for which still exist.
In the far distance centre is the concrete loading framework of the northern explosives storage building. The building in the lower right of the image is the toilet block. In the top right is the eastern explosives storage building. |

|
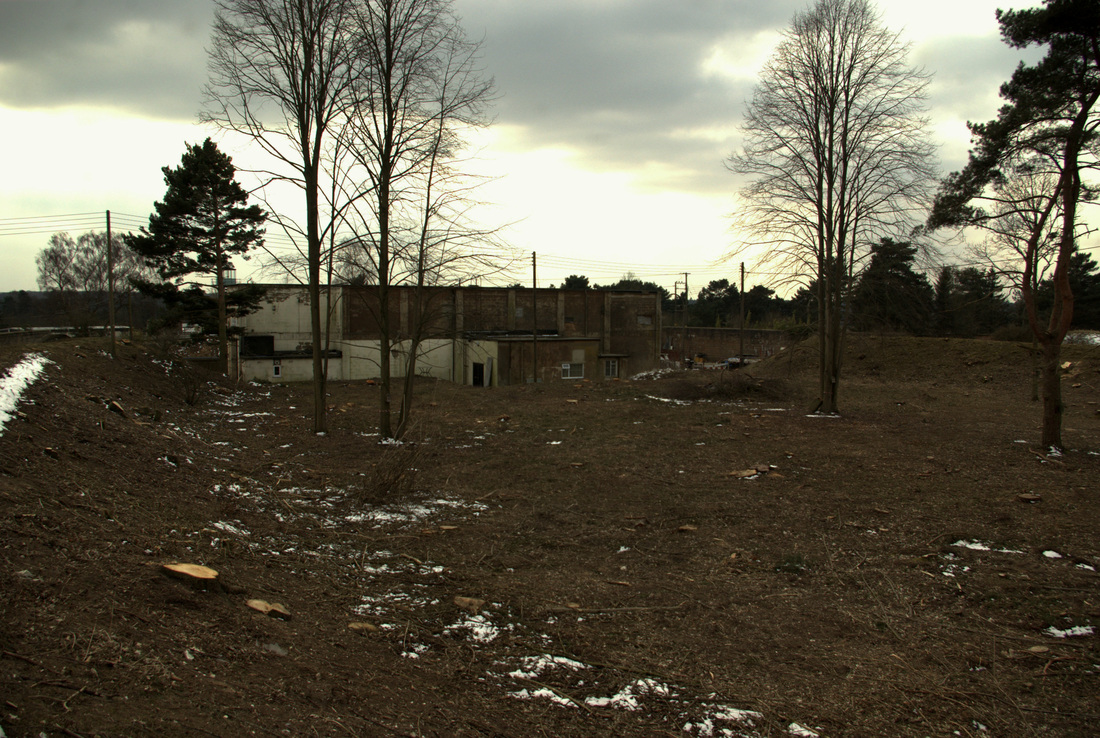
Picture SB12 & SB13 © Sam Tolley. Looking inside the large U-shaped traverse behind the maintenance building (visible in the far distance in the centre).
This U-shape acts as frontal blast deflector to all 3 of the explosives storage buildings as well as to elements of the maintenance facility. The level of ground in the centre is considerably higher than the land around the traverse, although it is not clear whether this area was raised or if the areas surrounding it were lowered. In the below picture, the northern explosives storage building can be seen image centre, whilst the northern and NE igloos can be seen image left and right respectively. |

|
Picture SB14 © Sam Tolley. This is a strange element on the NE end of the U-shaped traverse, possibly the location of a fire picket or similar.
|
